
Onion Braised Brisket by Nach Waxman
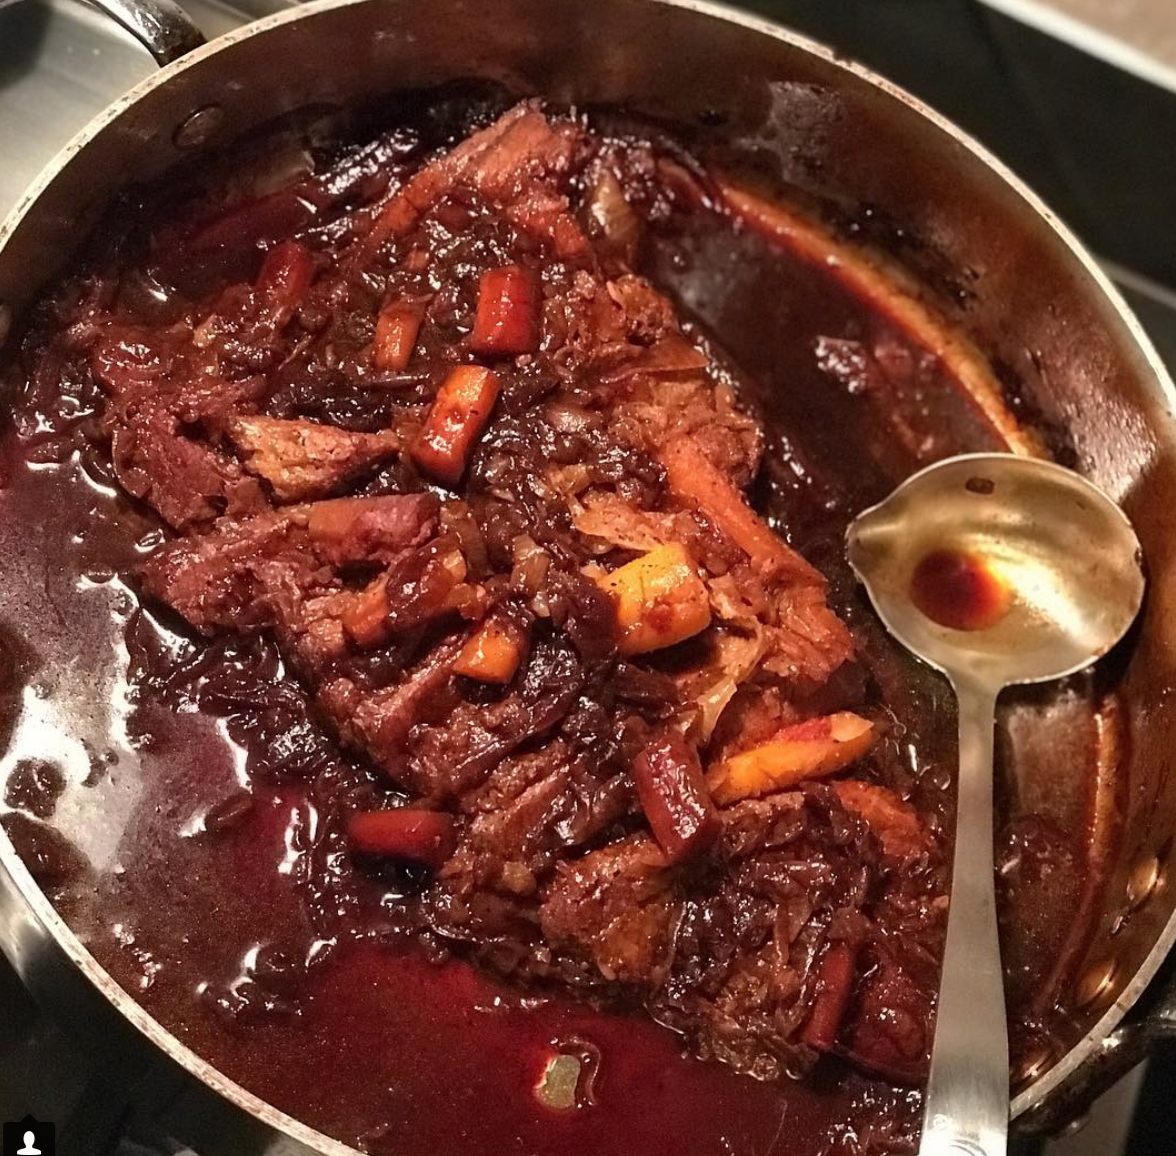
Classic, go-to Oven Braised Brisket by Nach Waxman (and I resisted posting a pic of my grease-stained, well-loved New Basics cookbook....can anyone say 1989).
Anyway, brisket is HOME to me. Brisket is family and Hanukkah dinners. Once you make this...and your home fills with the comfy, goodness smell of it...promise you’ll ask me for my latke recipe 😉.
If you don’t have a copy of that wonderful red/white cookbook...Nach Waxman’s Braised Brisket is all over the internet. But I’ll shout out two of my fav blogs that don’t mess with the recipe: @food52 and @onceuponachef Seriously, make this!
The only way I made it better than my mom: I bought grass-fed first cut brisket from @marblecreekfarmstead. High-quality, nutrient dense grassfed beef...it’s what’s for dinner (C’mon man, lets go full 80s 😂).
Recipe as found at Once Upon a Chef.
Ingredients
- 1 5-6 pound first cut (a.k.a. flat cut) beef brisket, trimmed so a thin layer of fat remains in some spots (do not over-trim!)
- 1 heaping tablespoon kosher salt
- 1 teaspoon ground black pepper
- 1-1/2 tablespoons all-purpose flour (okay to substitute matzo cake meal for Passover)
- 3 tablespoons vegetable oil
- 8 medium yellow onions, peeled and sliced 1/2-inch thick
- 3 tablespoons tomato paste
- 3 cloves garlic
- 6 carrots, peeled and halved
- Handful fresh chopped parsley, for garnish (optional)
Directions
- Set an oven rack in the middle position and preheat the oven to 350°F.
- Season the brisket on both sides with salt and pepper. Lightly dust the brisket with the flour, then shake and turn to coat evenly. Heat the oil over medium-high heat in a heavy flameproof roasting pan or ovenproof enameled cast-iron pot just large enough to hold the brisket and carrots snugly. Add the brisket to the pan and sear on both sides until crusty brown areas appear on the surface here and there, 5 to 7 minutes per side.
- Transfer the brisket to a platter, then add the onions to the pot and stir constantly with a wooden spoon, scraping up any browned bits stuck to the bottom of the pot. Cook until the onions are softened and golden brown, about 15 minutes. (If browned bits stick to the bottom of the pan and start to burn, add a few tablespoons of water and scrape with a wooden spoon to release them.)
- Turn off the heat and place the brisket, fatty side up, and any accumulated juices on top of the onions. Spread the tomato paste evenly over the brisket, then scatter the garlic and carrots around the edges of the pot. Cover the pot very tightly with aluminum foil (preferably heavy duty or two layers) or a lid, then transfer to the oven and cook for 1-1/2 hours.
- Transfer the brisket to a cutting board and, using an electric or very sharp knife, slice the meat across the grain into approximately 1/8 - 1/4-inch-thick slices. Return the slices to the pot, overlapping them at an angle so that you can see a bit of the top edge of each slice. The end result should resemble the original unsliced brisket leaning slightly backward. Check the seasonings and correct if necessary. If the sauce appears dry, add 2 to 3 teaspoons of water to the pot. Cover the pot tightly and return to the oven.
- Lower the heat to 325°F and cook the brisket until it is fork-tender, 1-3/4 to 2-1/2 hours, or longer if necessary. Check once or twice during cooking to make sure that the liquid is not bubbling away. If it is, add a few more teaspoons of water—but not more. Also, each time you check, spoon some of the liquid on top of the roast so that it drips down between the slices. It is ready to serve with its juices, but, in fact, it's even better the second day. It also freezes well.